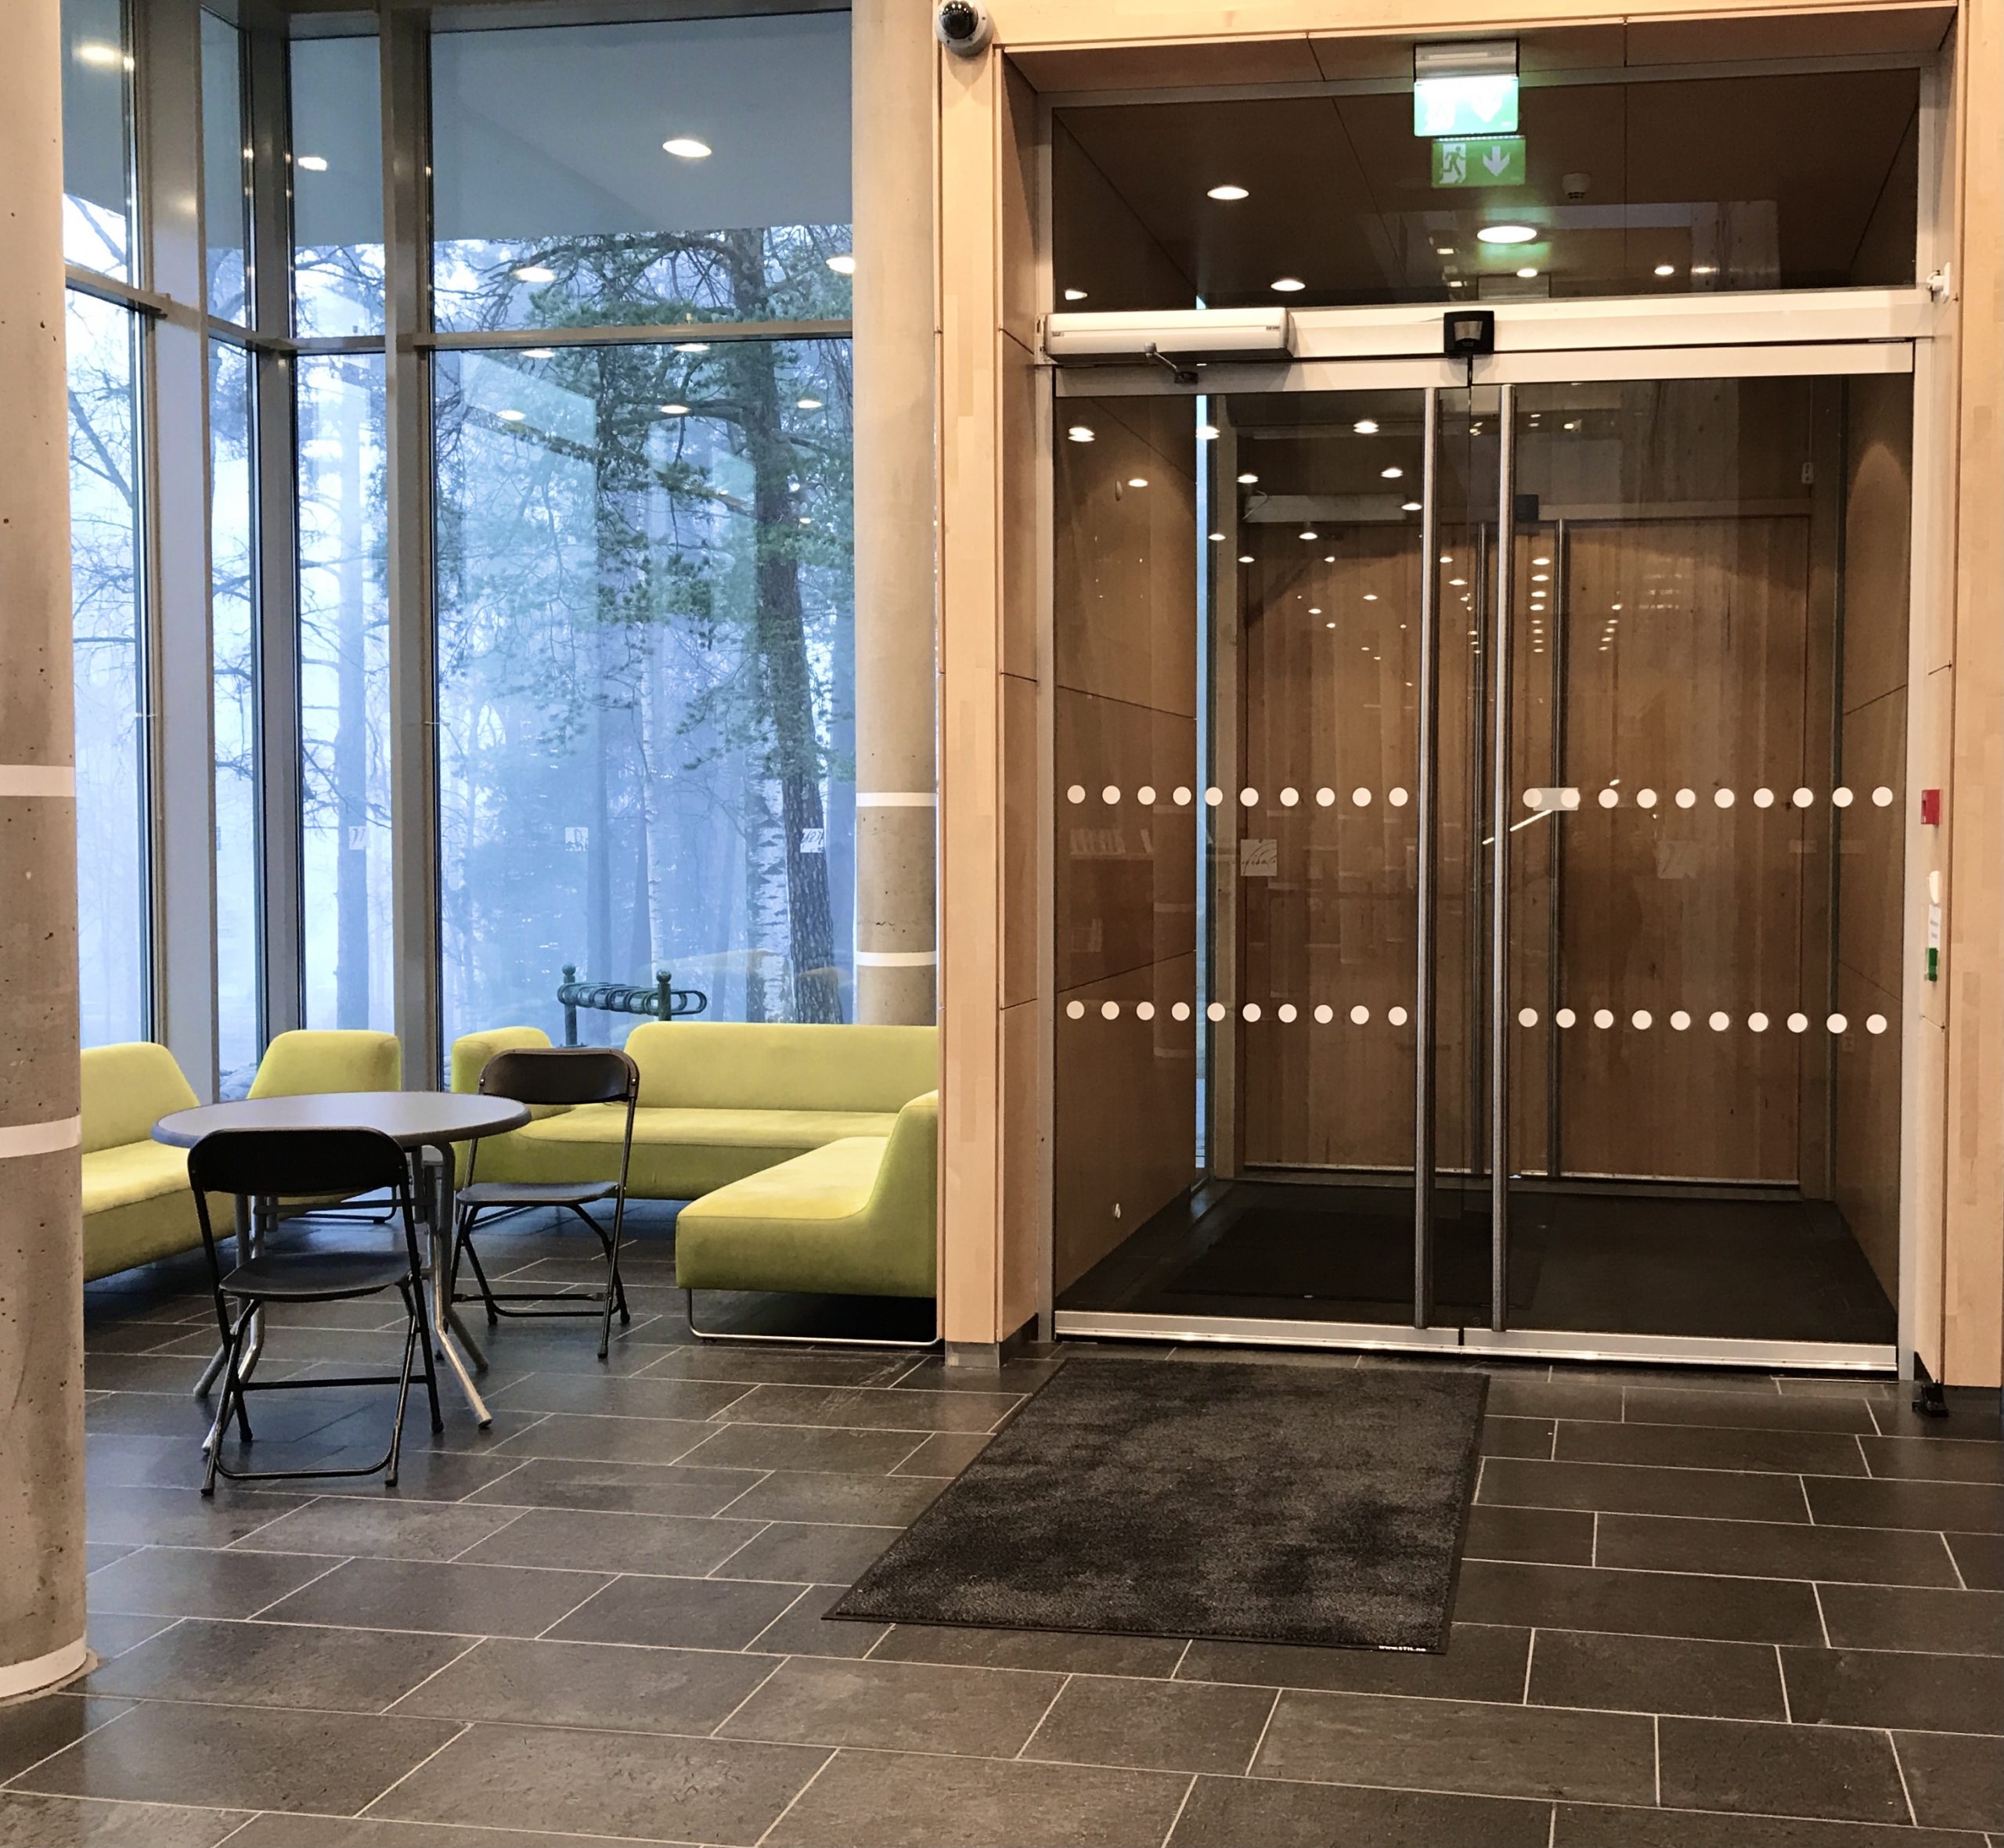
- Delivered in lengths of 120 cm
- Comes with slot edge for easier installation
Glass fields should be contrast marked with glass marker, which is visible from both sides and at two heights, with centre 0.9 m and 1, 5 m above the floor. The pattern in the glass marker in the door must be different from the glass marker in nearby glass panes.
Glass marking circles Ø50 mm
£0.50 – £32.50
Contrast marking for glass doors and glass walls
Smart Tactiles stocks white glass markers as a standard product. However, it is possible to have the markers delivered in a number of colours and shapes, such as squares, triangles or solid lines. Many companies want markers with their own logo or to decorate all or part of the glass field with different patterns. Contact us for assistance with your project.
The purpose of contrast marking is that the glass field is clearly visible even to people with impaired vision.
The height of the marking with centre 0.9 m and 1.5 m above the floor is indicated so that the marking is visible to those standing and those in wheelchairs, to people with different visibility and to children.
The requirement for a different pattern in the glass marker for the door and the nearby glass field is given so that people can more easily see that there is a door in the field.
Highly visible marking of the entire glass field meets the requirement for marking at two heights.
INFORMATION:
- Foil: MacTac 9300 Series - 3M 5525C-314 Haze - 3M 5525C-324 Sandblast
- Colours: White (Other colours on request)
- Shape: Circles Ø50 (other shapes and sizes on request)
- Dimensions: 1200 x 50 mm
- Comes with slot edge for easier installation
Additional information
| Weight | N/A |
|---|---|
| Dimensions | N/A |
| Colour | White |
| Quantity | 6 pcs, 10 pcs, 50 pcs, 100 pcs |
Fitting
- Watch installation videos
- First clean the area with ST Naturrens.ST Naturrens. ST ST Naturrens is a natural cleanser and not dangerous to inhale.
- Always use mal a template for better efficiency and correct results.
- Attach the template with tape at each end. Glue the products to the floor directly in the template. The glue is so strong that plugs, which were used before, are now superfluous.
- Move the template over as you place the products.
- Step on the indicators for better attachment after they are laid.
- The indicators can be applied directly after installation, but it should not be washed until after 24 hours so that the adhesive has enough time to cure.
- Choose the right template under related products.
