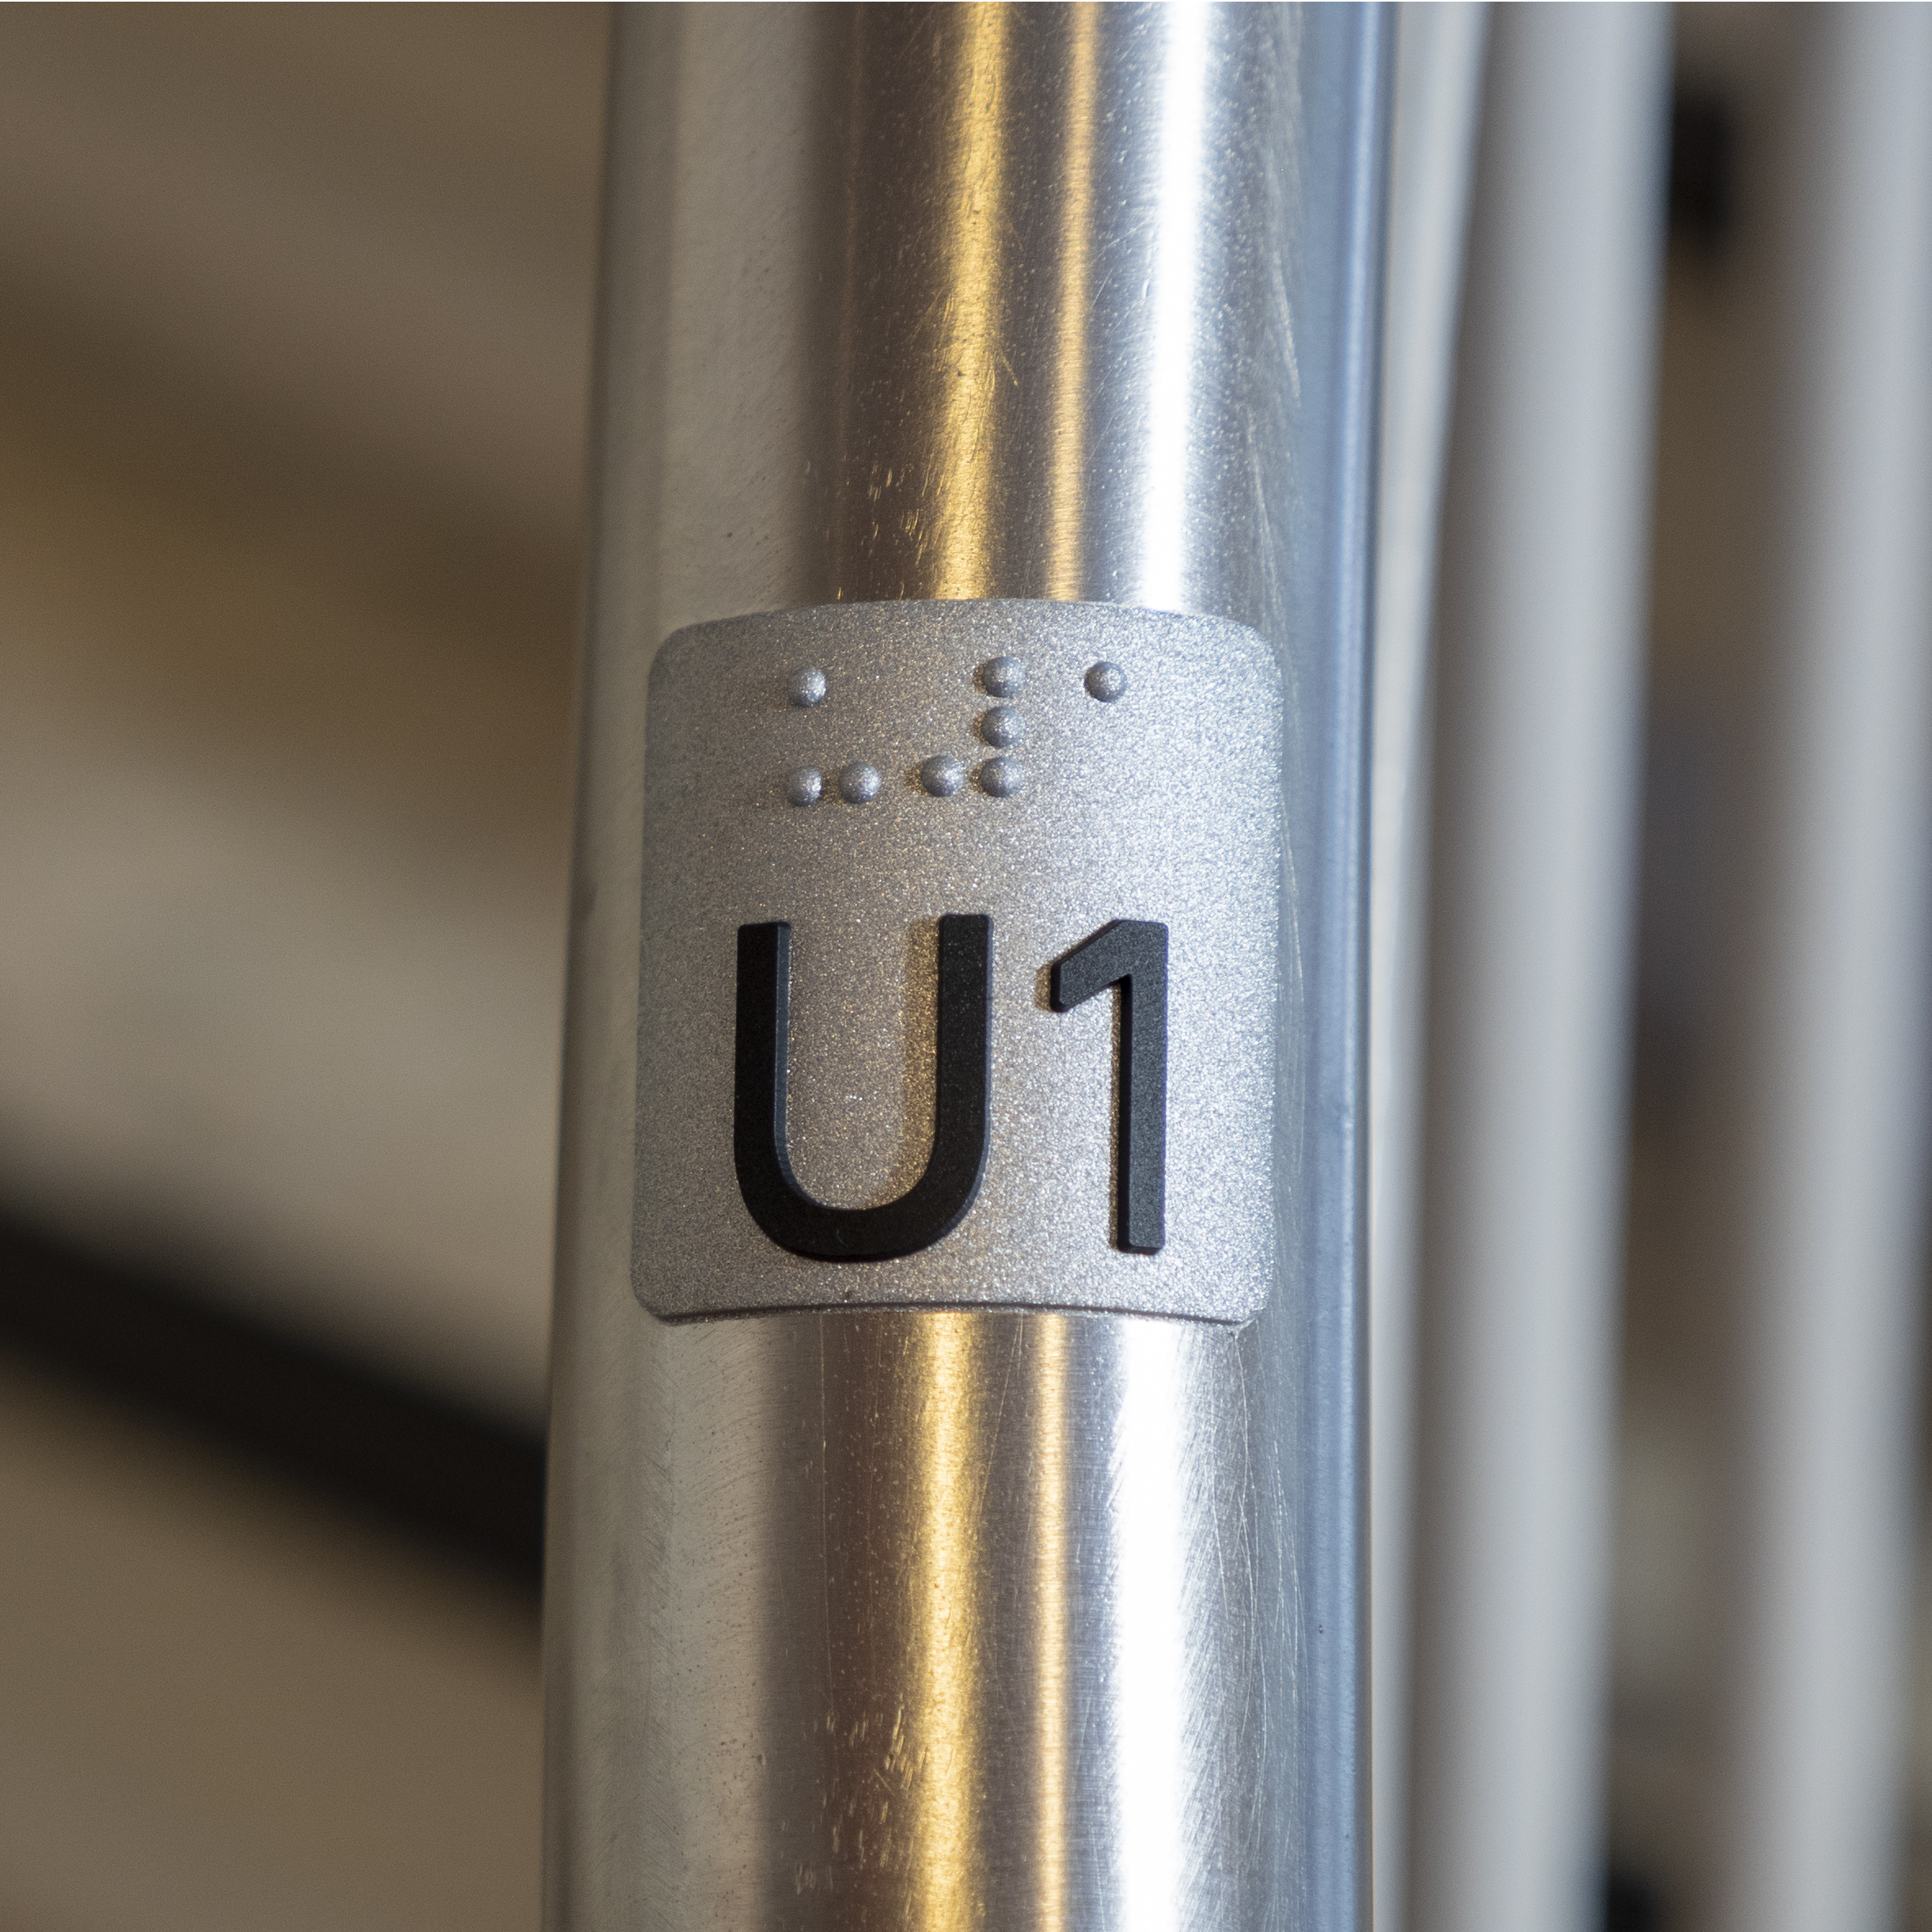
Smart Tactile’s unique handrail sign is made of a soft material that automatically forms into the surface. The floor number is tactile (tactile) and is also in Braille. The tactile elements are comfortable to touch. The sign comes with solid 3M glue, is easy to mount and attaches very well to the surface.
The metal-coloured sign works very well on different types of handrails in metal and wood.
The purposes of marking the floor indication on the handrail are that partially sighted are able to know in a simple way which floor they are on. The marking is also important for orientation when escaping.
Handrail sign
£20.85
Smart Tactiles handrail sign with 3M glue
Handrail signs are mounted on the top of the handrail on each floor approx. 15 - 35 cm into the handrail so that numbers and letters hit between the thumb and forefinger in a normal grip. These signs have tactile writing and braille.
The signs are attached to the right handrail seen from below and the right handrail seen from above. A sign is mounted on the lower and upper floors. In the floors between, two signs are used, one for those going up and one for those going down.
Easy installation - fastens directly to the handrail with solid 3M glue.
INFORMATION:
- Material: silicone
- Colour: metallic
- Thickness: 1 mm.
- Numbers, letters and braille are cast
- Tactile height numbers and letters: 2 mm
- Tactile height braille: 1 mm
- Glue: 3M 9448A
Additional information
| Weight | N/A |
|---|---|
| Dimensions | 3.5 × 3.5 × 0.23 cm |
| Etasje | U2, U1, 1, 2, 3, 4, 5, 6, 7, 8, 9 |
Fitting
- Watch installation videos
- First clean the area with ST Naturrens.ST Naturrens. ST ST Naturrens is a natural cleanser and not dangerous to inhale.
- Always use mal a template for better efficiency and correct results.
- Attach the template with tape at each end. Glue the products to the floor directly in the template. The glue is so strong that plugs, which were used before, are now superfluous.
- Move the template over as you place the products.
- Step on the indicators for better attachment after they are laid.
- The indicators can be applied directly after installation, but it should not be washed until after 24 hours so that the adhesive has enough time to cure.
- Choose the right template under related products.
